Handy HTML paste trick for anyone wanting to upload Word or OneNote documents
Home (for Blackwatte students working on their projects)
For detailed OneNote or Word docs which have:
· bullets
o at multiple levels
1. And numbering
a. With 2 or more levels
b. Colours such as Green
c. And fonts such as Courier which may be used for code blocks
Note: The OneNote links below will only work for Blackwattle students who have the relevant Microsoft permission.
Note that the resulting web pages are messy under the bonnet, but reasonably easy to edit and manipulate in an editor.
(the css script is attached to each line)
You'll need Visual Studion as Dreamweaver does not preserve indents and much of the format, probably because it's not a Microsoft product.
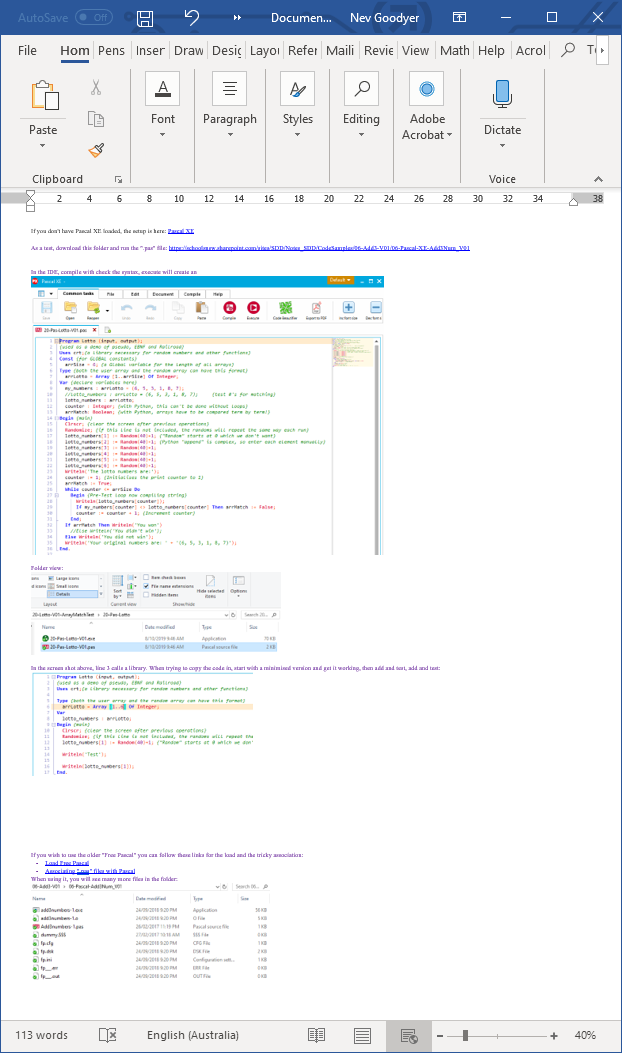
I'm going to copy this Pascal Setup Notes short page as an example.
On OneNote, select all on the page (CTRL+A+A) and paste into a blank Word document.
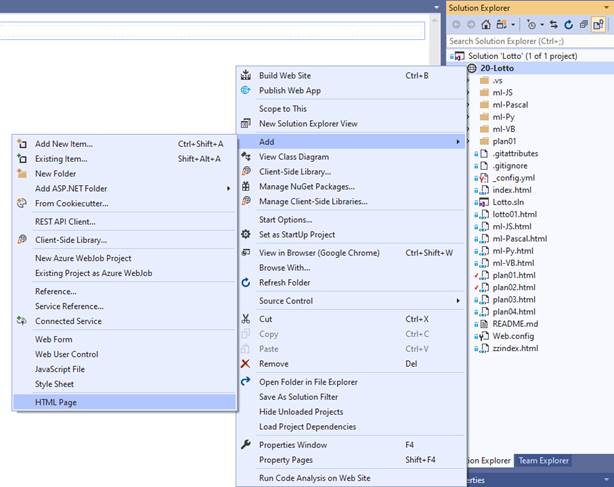
In visual studio, right click on the solution FOLDER to create a new HTML page:
Create a folder with the same name as the page name:
Name it and view it in split view (Split HTML Page in Visual Studio):
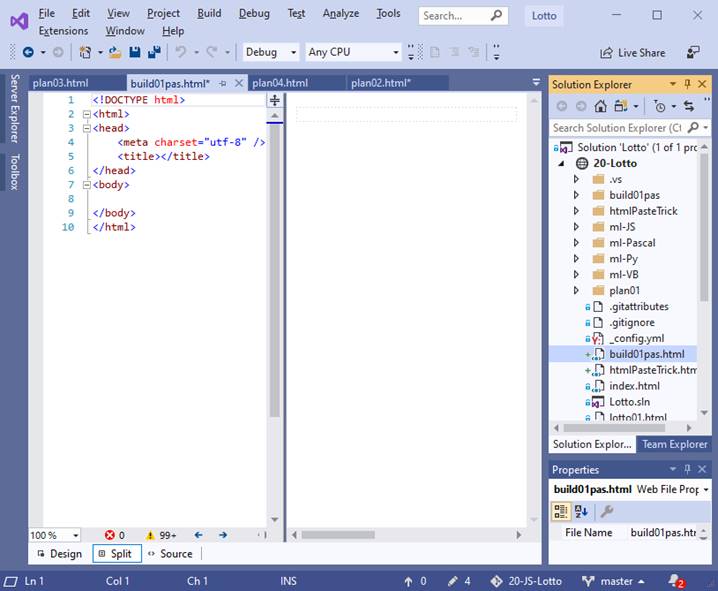
In Word, select all (CTRL+A) and paste it into the "Design" side of the page above:
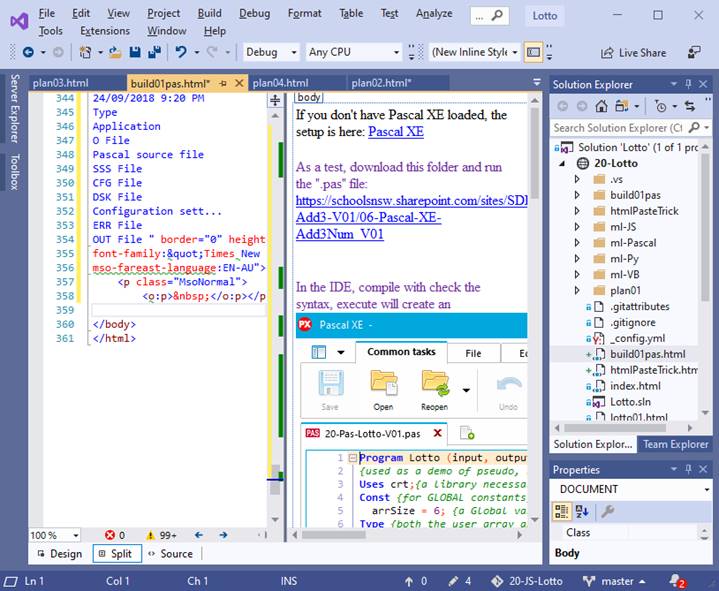
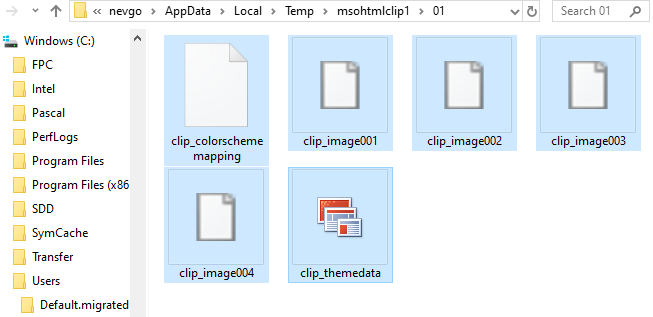
Click on an image and look in the code window to see where it has been stored - probably in the depths of the c-drive! Copy the address and view the images in File Explorer. Select them all (CTRL+A) and CUT (CTRL+X).

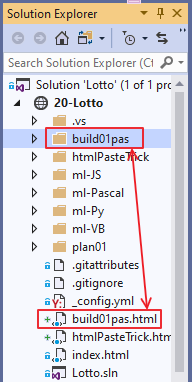
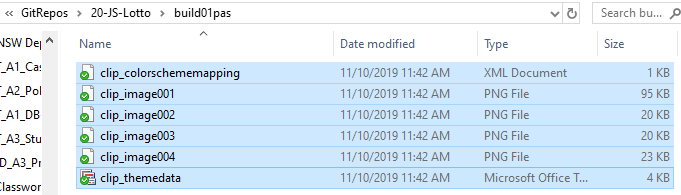
Go to the website file view and paste into the folder you created:
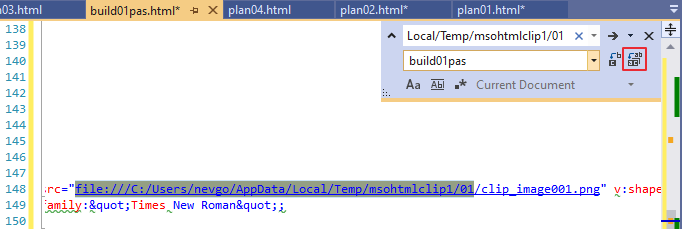
Now of course, all the links are broken on the web page. We can solve this with a "Find and Replace" (CTRL+H):
In this case "images/htmlPasteTrick" needs to be replaced with "build01pas":
If you are using an images folder, replace with "images/build01pas"
In this case, there are 8 replacements:
![Machine generated alternative text:
Microsoft Visual Studio
8 occurrence(s) replaced.
Z] Always show this message](images/htmlPasteTrick/clip_image013.png)
Open your file and check the format - although the code is a dog's breakfast, indents and colours should be preserved:
Now, Dreamweaver is also very handy. In my case, I have 7 image folders, which I would like to put inside 1 "images" folder. In Dreamweaver, if you move a folder or page, you are given the option to automatically update all the links. You must have the site setup and this is the view. Drag the build folder into the image folder:
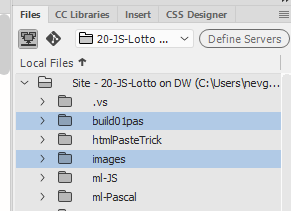
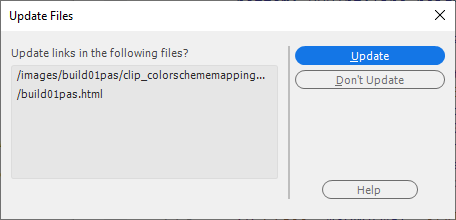
As you release from the drag, you see this dialog. Choose "Update":
After moving 7 folders, the directory is tidier and still functional:
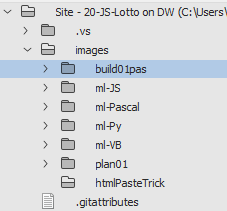
The tidy version is:
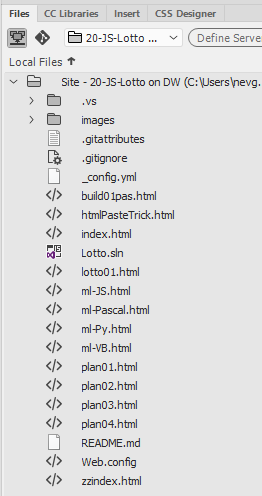
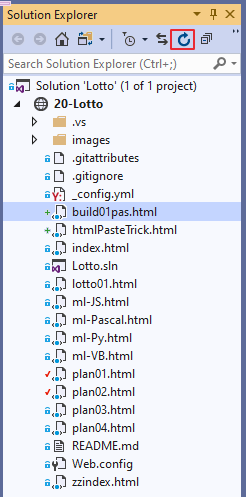
And back in VS, after a "refresh", the folders looks like:
Remember to give your page a "Title"! Add it in on line 5 of the code, between the Title tags.
Hope it works for you!
Hope it works for you?